 Okay, I was finally able to dedicate some time to getting this one done. I got the legs on with much difficulty. It was a very tight fit even after sanding down the areas before glueing. Since the model wasn't designed with lighting in mind, the wires barely fit through the opening. During this process I broke off the nose piece and the bridge, knocked off a foot piece and cracked the seam on the side of the main body. This is usually where I have to fight the urge to throw the whole thing on the ground in an irate fit. But I got it all fixed and pulled through.


While looking around the web for ideas I came across a guy who used a plain old pencil for his weathering, scraping and chipping effects. I decided to give it a try with good results!


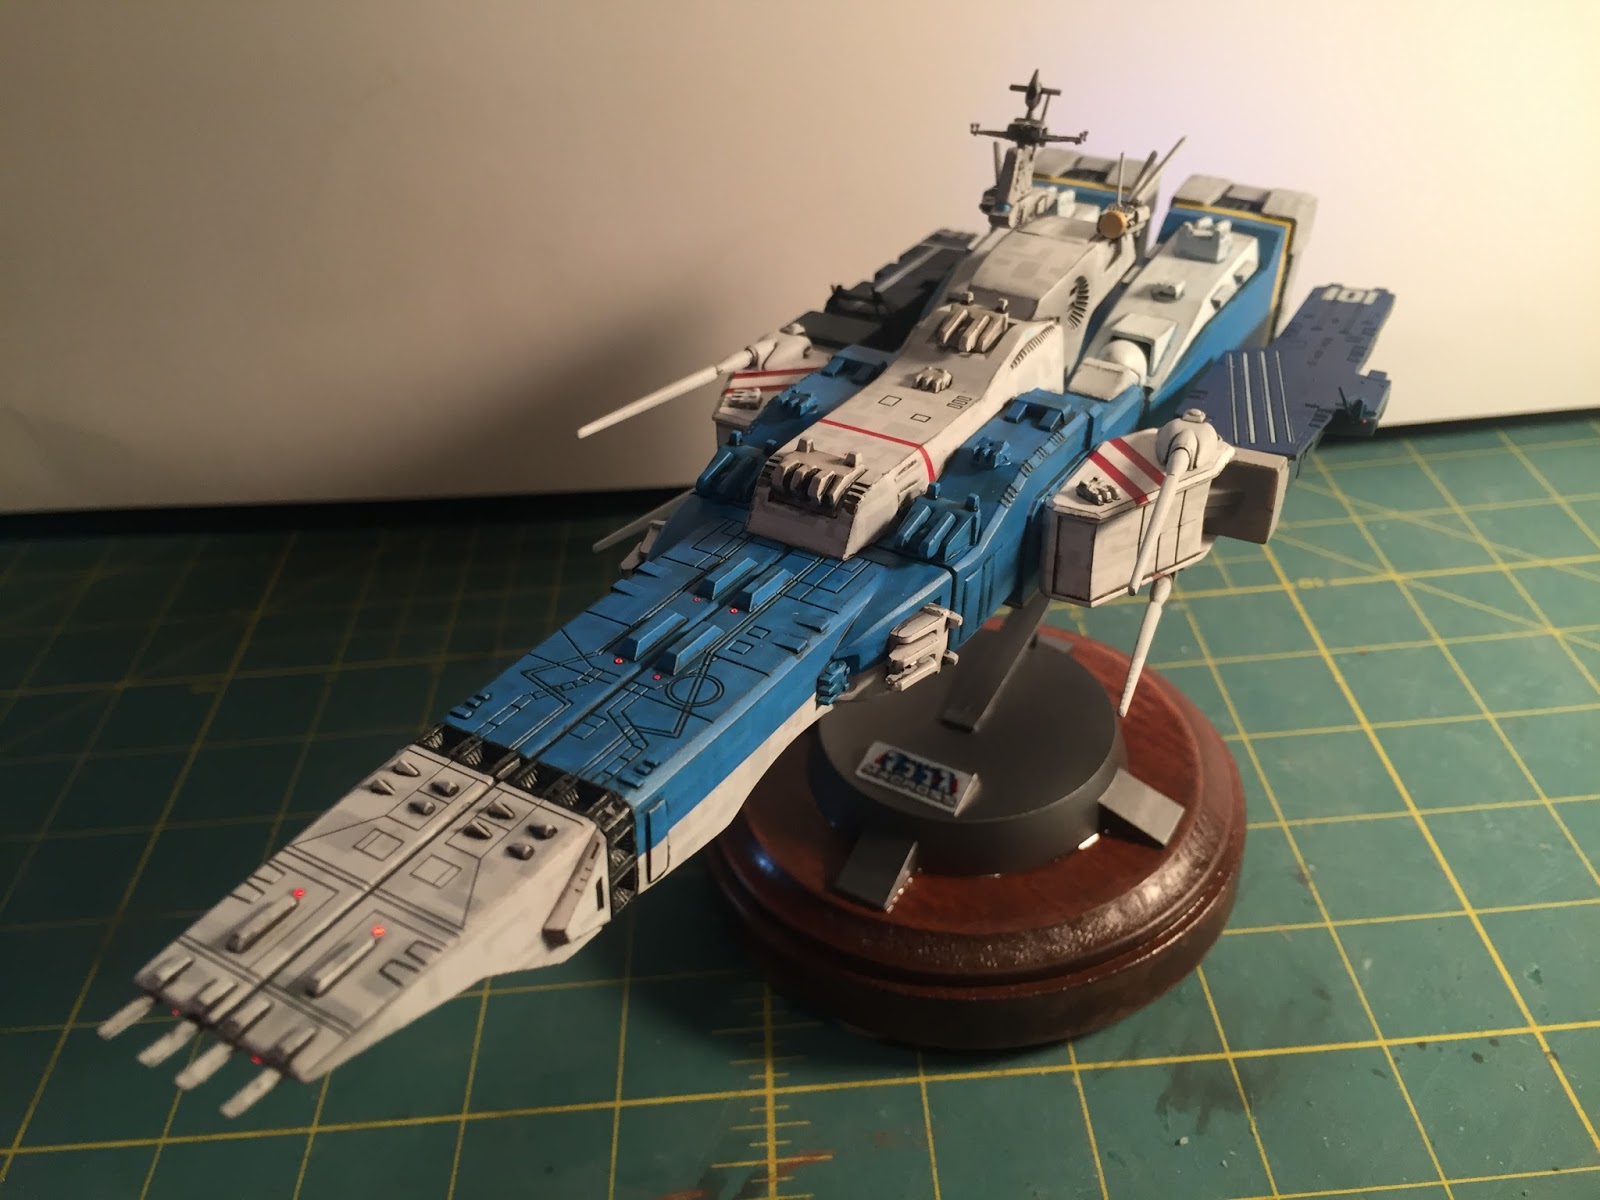
I had mentioned previously that I was unsure of what kind of base I wanted to use. In the end, I opted for simple base that utilized the one that came with the kit combined with a cheap wood disk from Micheal's.
Overall I am happy with the finished piece. Its a kit that I have wanted to build properly since 1985. So It'll do, pig.


No comments:
Post a Comment