I have had this Macross Zentraedi command ship model since 1986 or so. I bought it at the Orange County Swap meet for $10 when I was 15 years old! (I'm 49 now). For some reason I held on to it. It was always in my spare parts box along with the little Macross SDF-1 that came with it but they were both in really bad shape. The main antenna was gone as well as one of the smaller ones from the front of the ship.

The SDF-1 was missing both ships and two of the shoulder cannons. The base that came with the kit was long gone. I had actually tried to clean this up about 7 years ago but I didn't know what I was doing back then. I felt that I could really do this kit the right way with a little effort now.


Then I painted it all flat black.
 Once the gloss coat was on (Tamiya TS-13) and dried for a day, I started on the panel wash. I use Tamiya Black Panel Line Accent Color and clean up with lighter fluid. I have found that lighter fluid works much better than enamel thinner. It does not affect the TS-13 clear coat at all where enamel thinner can haze it if its not on thick enough.


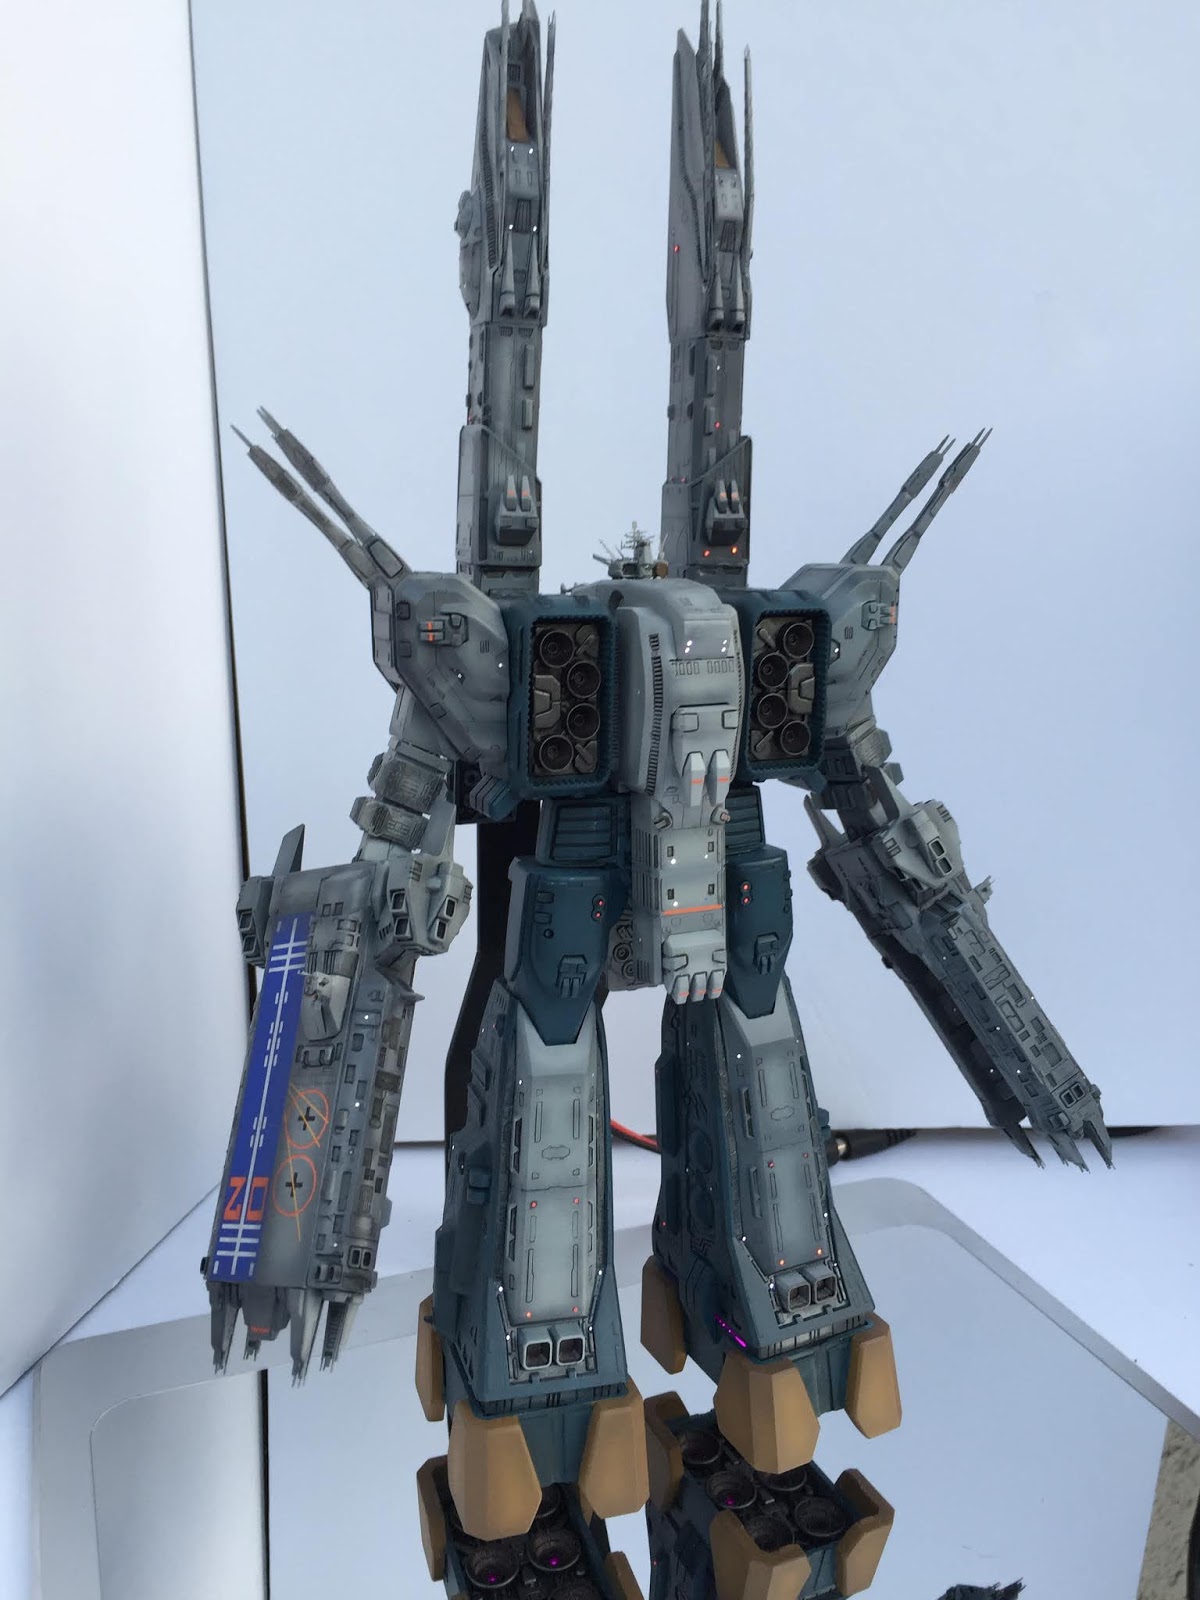
I painted the (I don't know what they are. Yellow thingies?) Flat yellow with some Tamiya Clear Orange shading.
Then I had to fabricate a new main antenna. I didn't bother to look and see what it should really look like. I just made something that I liked from my vague memory of this part. I glued together two pieces of styrene sheet, then Shaped it with sand paper.
 I only had one of the small antennas from the front so I sanded down a piece of styrene until it looked pretty close to the one I had.
 Main antenna and small ones on the model.
Good enough for me!


This little SDF-1 was beat up. It actually fell apart in my hands while trying to get the ancient enamel paint off of it. I almost scrapped it but decided to give it a go anyway and I'm glad I did.
I made a bridge and conning tower for the top and made some new guns.


I also made some thruster grills for the back where the model was just flat.
I have never ever tired to mask something this small before.
While I was doing it I kept asking myself if it was worth the effort.


 I needed a new base so I used a plastic case that Apple Earbuds came in. Or maybe it was an iPod mini case. Anyway, I never throw anything plastic away so I had it in the stash and it seemed a perfect fit. This is my second attempt at hand painting a nebula. I had to paint it and wipe it clean four times before I got it right.