
I started this in January. I started with poor materials, fuddled through it off and on over that time, did things the wrong way, made some poor choices and wondered what the hell I was doing, but all in all it looks pretty cool in my display case.


 I attempted to paint this “Toon Shaded” anime style. I failed. It’s supposed to look like a 2D drawn image. I couldn’t get the edges right so I stopped trying. I’ll try this style again after I do some research.


 I got a bit done this weekend. I finished up the lights top and bottom. I made the mistake of drilling all this goddamn holes when I was jet lagged and couldn't sleep. I should have taken a more methodical approach and done more grouping and patterns. Ah, next time!


 Just a small update today. It doesn't look like much progress but I did work on this all weekend.
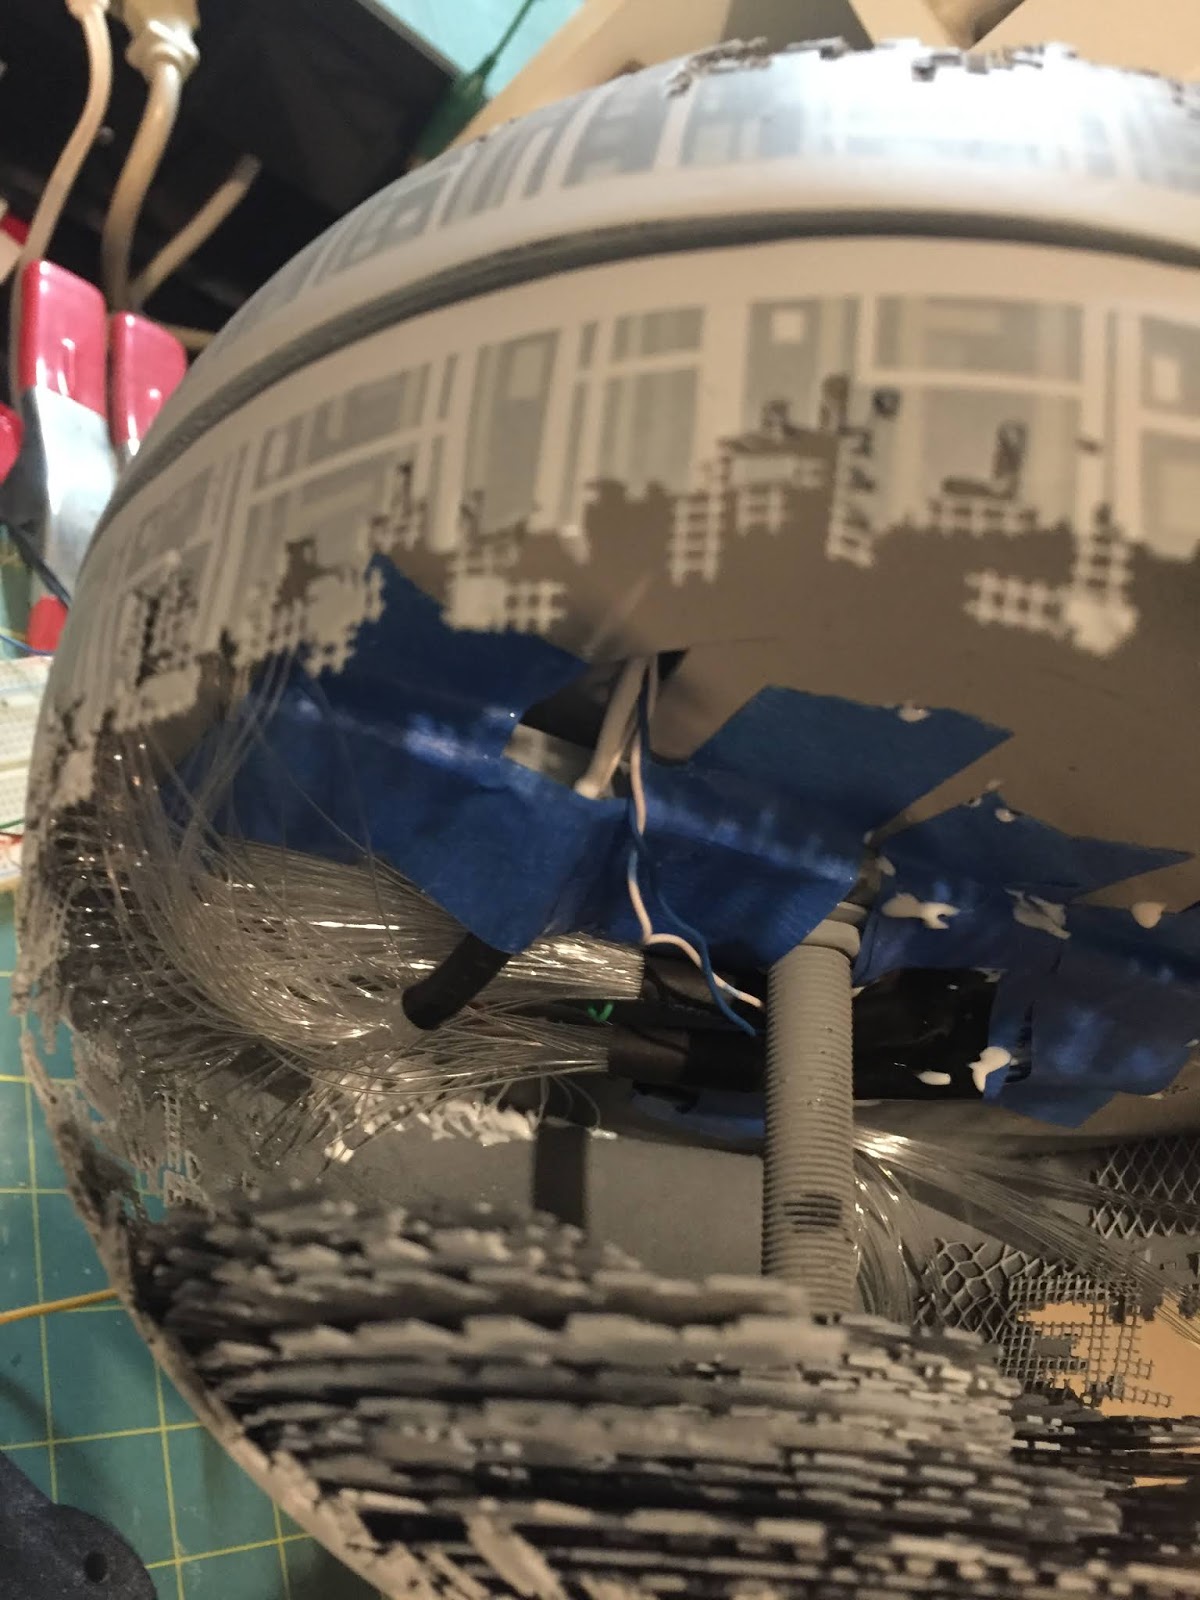 It's not pretty in there, but it works!


 I had threatened to do this over a year ago but I finally got to it. The second Death Star from Return of the Jedi! The image on the left is of course a shot from the movie (Lucasfilm all rights reserved. yada yada yada).
 Then one day I was going through my pile of junk that I never throw away because it might be useful someday and I came across this Perplexis puzzle toy that used to belong to my son. It's only 7" across and smaller than I wanted to do, but I thought "Why not?". So here it goes!
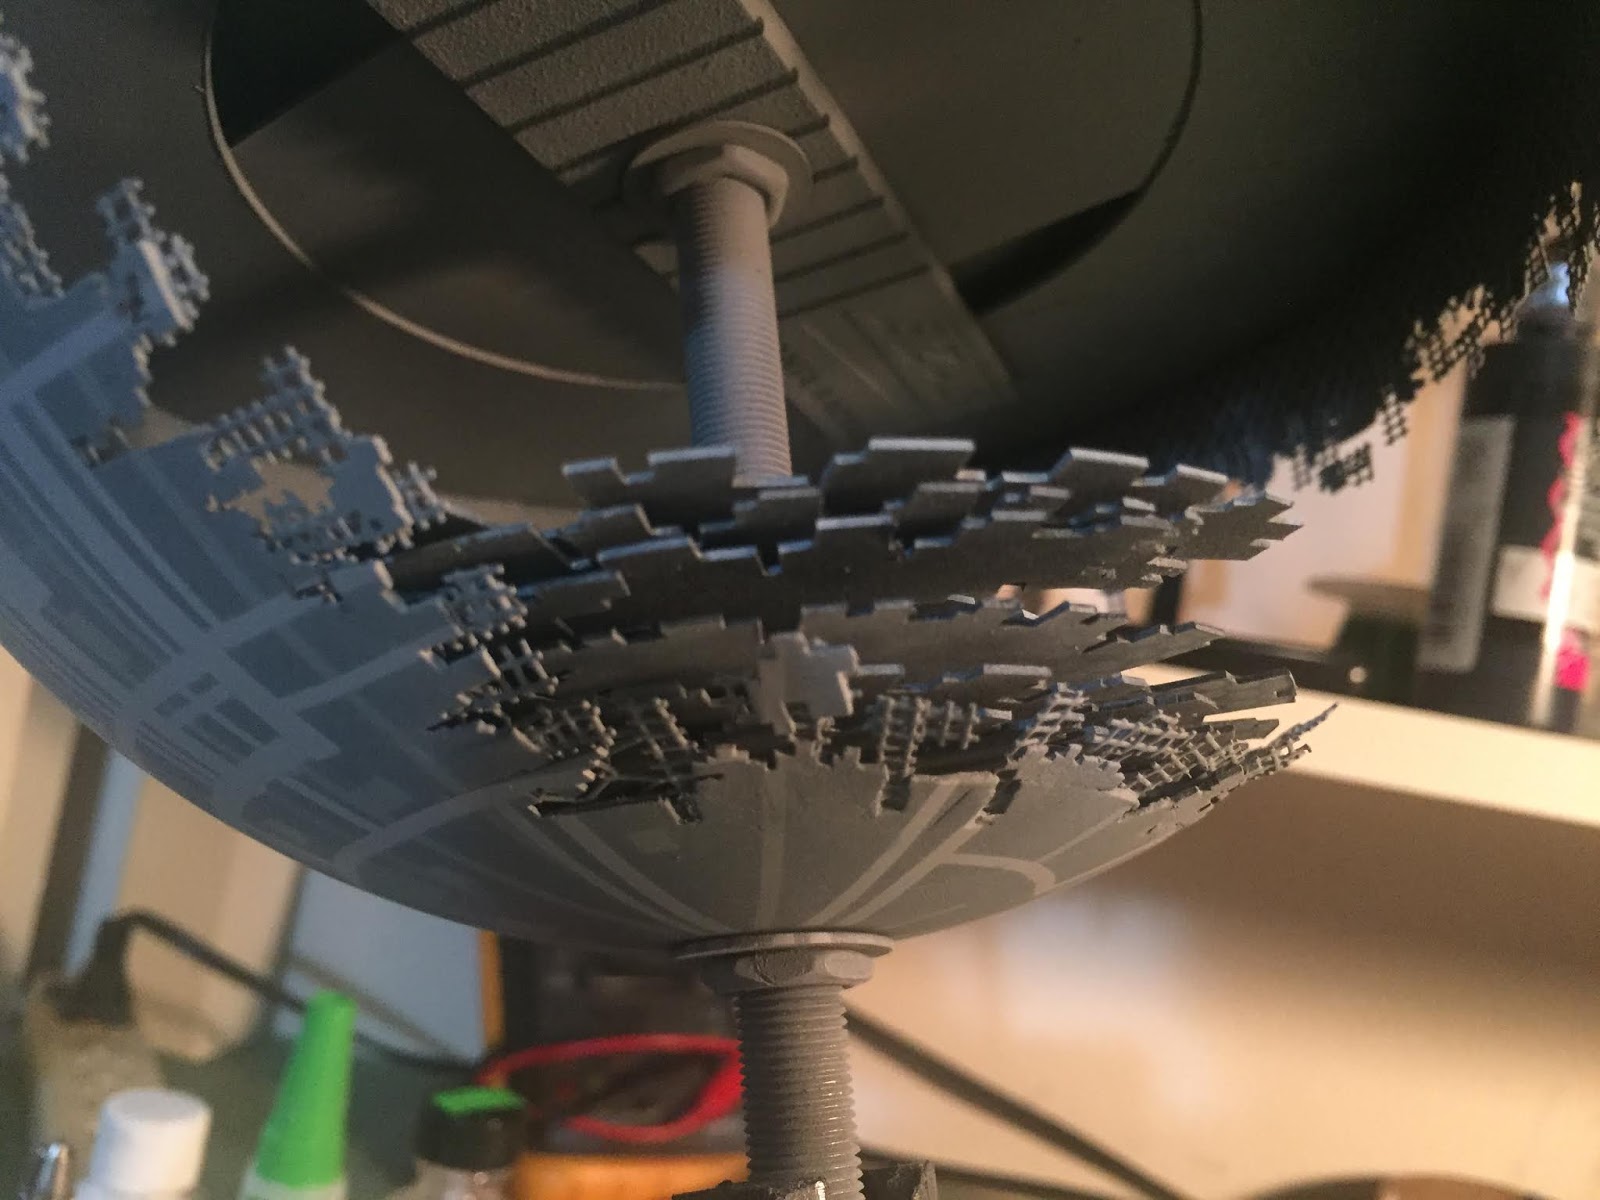
 The material was easy to cut through but I was worried that the dome would not retain its shape when I cut the big swatches out for the under construction areas. With that in mind I built in some support around the bottom of each hemisphere. As you will see later, this caused me some problems with lighting. If I were to do this again I will need to come up with a better way of solving this problem.
 I used the piece that I cut out, flipped over, as the inverse shape of the death ray.


 Next it was time to mask for painting. For this stage I did look at some reference shots as well as what other people have done. Being so small I had to make some compromises, but it was starting to look pretty good.


 Now, how the hell am I going to build the floors and all of that detail for the under construction areas? My trusty circle cutter and some 0.2mm styrene sheets!


 Before I can get all the floors in, i need to install the fiber optics. I think I drilled about 400 holes in this thing so far and I know I'm going to need more!
 The camera tends to blow out the lights and make them look way too bright, but this is as far as I have gotten on the lights (about 1/4 done).