The bottom line is I did not hit the target that I was aiming for. There isn't a whole lot that I can do about it but move on and finish up.
Monday, January 16, 2017
Star Trek U.S.S. Excelsior Part 4: The Dark Side Triumphs
The bottom line is I did not hit the target that I was aiming for. There isn't a whole lot that I can do about it but move on and finish up.
Sunday, January 15, 2017
Star Trek U.S.S. Excelsior Part 3: Don't be a Dummy!
A Small update for today. I masked off all the blue areas to paint the main hull color using the masking kit from Aztek Dummy.
As it turns out I failed at hitting the color target I was shooting for. I think I ended up somewhere in between the studio model colors and the "screen" colors. Not much that I can do about it now, but carry on.
Tuesday, January 10, 2017
Star Trek U.S.S. Excelsior Part 2: My God, It's full of holes.
I wasn't really sure how the hell I was going to light the inside of the lower cargo bay. So I masked off the spaces between the "ribs" on both sides to act as skylights for the space. I put blue LED tape sections on either side, but was getting blue light shining through the windows. As a result I needed to cover the blue lights so that they only illuminated the cargo bay and not the inside of the model where only white light should be seen. I used some half-pipe scrap pieces from an old Saturn rocket from the spare parts box to accomplish this.
The usual light blocking was done next. I used Krylon Cover Max dark gray primer, then flat black to stop any light from showing through the plastic. After that I use flat white to bounce the white lights around the inside of the model. This would prove to be an unusual problem later as you will see.
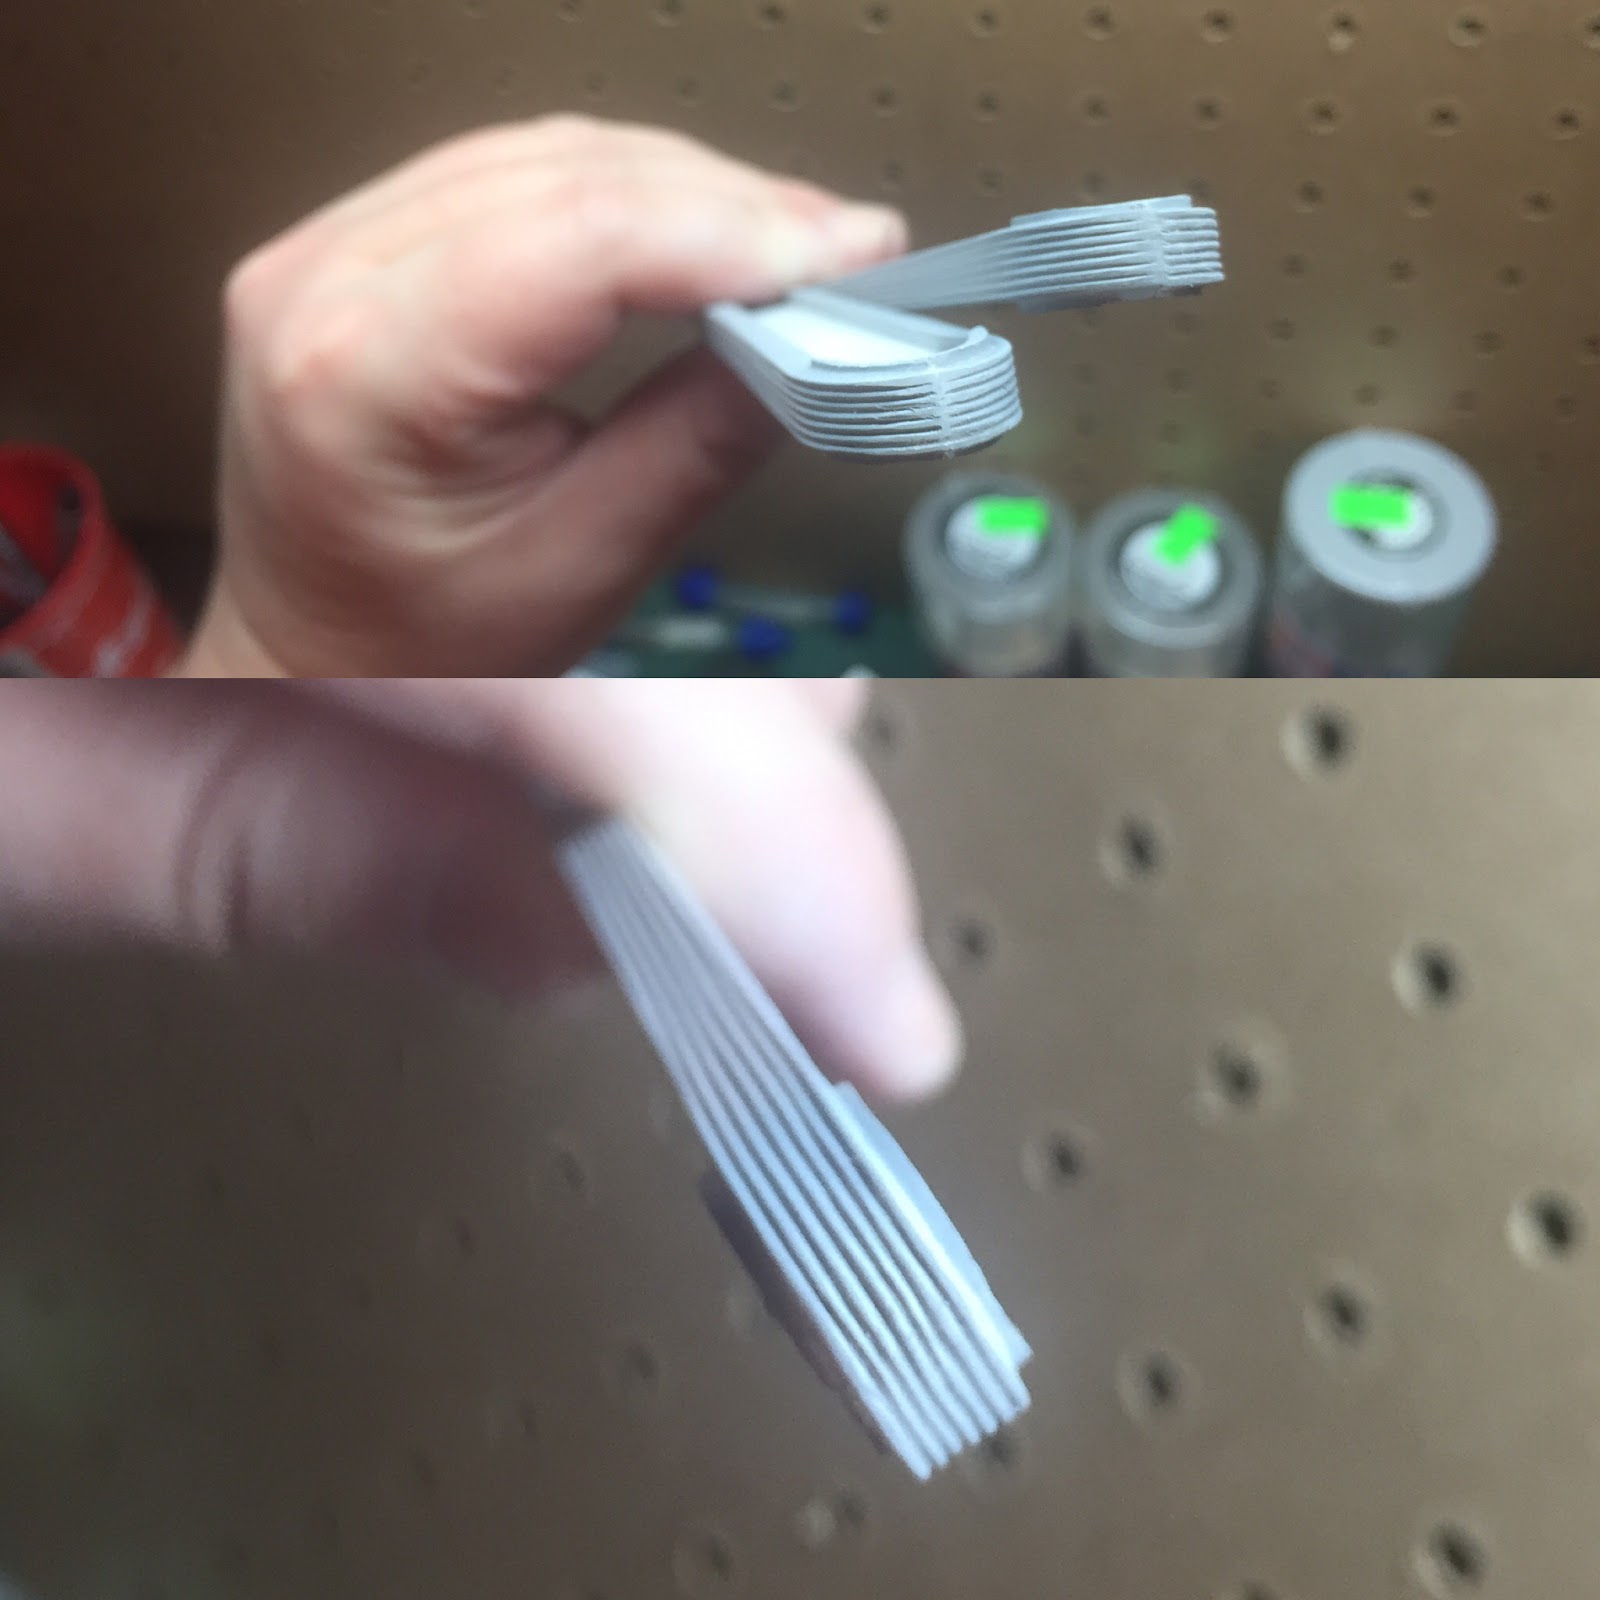
A great tip from Simon Mercs at the Kit Factory was to build spacers to go in between the "chillers" on the warp engines. Without the spacers it is very easy to accidentally squeeze these parts together and break the little bit of gluing on the ends that holds them together. It also serves to ensure that they are straight when you glue them onto the lower half of the engine housings.
The same thing is happening on the saucer and part of the edge has come apart three times now while I handle it during painting. Im going to try to use white Squadron putty instead of the red Bondo stuff to fix that part. I think the Bondo might be eating away the glue. I'll cover that fiasco later on.
As I mentioned in the previous post, this isn't going to be a studio prop reproduction. It will not be the colors on the actual studio model, but as it was seen on screen. That being said (and re-said) This is my pallet of colors.
Im laying down the dark "Blues", masking them off and then doing the medium tones. I will then apply the Aztek patterns where needed.
Friday, January 6, 2017
Star Trek U.S.S. Excelsior Part 1: The Great Experiment
I have been working on the 1/1000 U.S.S. Excelsior for a few weeks now off and on. I am now ready to start painting her but am unsure of how to proceed.
Let's talk about color. You have the colors that were used on the studio model and you have how it looked on the screen when you watched the movie. I have never liked the colors used on the studio model, they are way too bright. When watching the movies, the Excelsior always had a blueish gray hue to it, not white. Let's look at some examples, All of which are copyright Paramount Pictures and only used here for reference.
Here is the real proof. As we all know, the ship on the left is White. Is the big ass ship on the right the same color? NOPE! Blueish gray, babies. So, that is the color scheme that I will be using.
So, to the Trek Nazis: I know that it isn't the colors used on the studio model. I'm not doing a prop reproduction, that's Simon's gig. I am trying to make the ship as she looked on that movie screen and in my mind ever since.
I will post build pics up to this point in the next part and show the painting progress as I go.
Let's talk about color. You have the colors that were used on the studio model and you have how it looked on the screen when you watched the movie. I have never liked the colors used on the studio model, they are way too bright. When watching the movies, the Excelsior always had a blueish gray hue to it, not white. Let's look at some examples, All of which are copyright Paramount Pictures and only used here for reference.
This shot from Star Trek III in spacedock was our first look at this gorgeous lady. She don't look white and her accent color sure ain't bright blue! It can be argued that it was just the lighting in spacedock, true. But I think not.
This shot From Star Trek VI is in open space. No blue spacedock lights here. Yet, still, she looks gray.
Here is the real proof. As we all know, the ship on the left is White. Is the big ass ship on the right the same color? NOPE! Blueish gray, babies. So, that is the color scheme that I will be using.
So, to the Trek Nazis: I know that it isn't the colors used on the studio model. I'm not doing a prop reproduction, that's Simon's gig. I am trying to make the ship as she looked on that movie screen and in my mind ever since.
I will post build pics up to this point in the next part and show the painting progress as I go.
Wednesday, November 30, 2016
The Adventure Continues....
Disregard that last post about quitting (which I deleted). I'm getting the garage ready for action this week-end.
I got the itch to build something. Anything.
Friday, April 29, 2016
Hello, Caller? Are you there?
Answering questions via the comments box is kind of cumbersome. I added a contact widget over on the right. I'm not sure how it works, but it must be easier than having to go to the comments to talk to people. Give it a try.
If that doesn't work, I'll just put a link to my e-mail over there.
Thursday, April 7, 2016
BanDai 1/72 Cosmo Zero and Hangar Diorama Part One
I started working on my BanDai 1/72 Cosmo Zero fighter from Space Battleship Yamato 2199. It's a really nice kit as all Ban Dai kits are.
Initial stages went well. I did some pre-shading on the nose section and painted it a custom orange mix that was to my liking. The camera doesn't really pick up the subtlety of the pre-shading, but it's there to the eye.
I decided to tackle the teeny-tiny pilot figure and instrument panel next. Not too shabby as it will be hardly visible in the cockpit through the canopy.
At this stage I decided to try my hand at a diorama! I wanted to do something that would show part of the outside of the ship (the Yamato) so I chose to build Hangar 3 seen the 2199 series:

I know that I don't have the skill to do an exact replica of it as it appears on screen so I'm just going for the general shape and feel of the space. This is also my first try at scratch building anything. I used some heavy cardboard as the base to build upon and then bought some styrene and started adding details.
The next part is a lesson in what NOT to do when building a model. I had the flu for about two weeks, but I still wanted to build. Big Mistake. A whole slew of bad decision making ensued. I prepped the body for application of Aclad II Chrome but when it came time to actually do it I, in my sickly stupor, decided that I didn't need the gloss black base coat. SHIT. STRIKE ONE!
So, off it all comes. after much sanding and re-priming I applied the gloss black base. But it had humidity issues and there were some grainy areas. Should I fix it and do it again? Sick brain says, "Naw! It'll be fine!" STRIKE TWO! It was not fine. I didn't take pictures because it was very bad.
So, I soak the whole goddamn thing in Castrol Super Clean (Purple Pond). This was not good for the plastic. Some chunks came off. STRIKE THREE! You're OUT! Long story short, I screwed up this kit so bad that I do not think that it can be salvaged. I have never, ever screwed up a kit this bad in my whole United States life.
I was very bummed. I set it all aside and locked up the garage. I didn't have the desire to return to it for almost two weeks. After that time, I went down to survey the damage and got depressed all over again. Didn't go back down for another two weeks. I was seriously pissed off at myself for such a disaster. I am going to have to get ahold of another kit for $36. Lovely.
This one may end up in the lower section of the diorama as a bird that just returned from combat with some battle damage. We shall see.
Initial stages went well. I did some pre-shading on the nose section and painted it a custom orange mix that was to my liking. The camera doesn't really pick up the subtlety of the pre-shading, but it's there to the eye.
I decided to tackle the teeny-tiny pilot figure and instrument panel next. Not too shabby as it will be hardly visible in the cockpit through the canopy.At this stage I decided to try my hand at a diorama! I wanted to do something that would show part of the outside of the ship (the Yamato) so I chose to build Hangar 3 seen the 2199 series:

I know that I don't have the skill to do an exact replica of it as it appears on screen so I'm just going for the general shape and feel of the space. This is also my first try at scratch building anything. I used some heavy cardboard as the base to build upon and then bought some styrene and started adding details.
The next part is a lesson in what NOT to do when building a model. I had the flu for about two weeks, but I still wanted to build. Big Mistake. A whole slew of bad decision making ensued. I prepped the body for application of Aclad II Chrome but when it came time to actually do it I, in my sickly stupor, decided that I didn't need the gloss black base coat. SHIT. STRIKE ONE!
So, off it all comes. after much sanding and re-priming I applied the gloss black base. But it had humidity issues and there were some grainy areas. Should I fix it and do it again? Sick brain says, "Naw! It'll be fine!" STRIKE TWO! It was not fine. I didn't take pictures because it was very bad.
So, I soak the whole goddamn thing in Castrol Super Clean (Purple Pond). This was not good for the plastic. Some chunks came off. STRIKE THREE! You're OUT! Long story short, I screwed up this kit so bad that I do not think that it can be salvaged. I have never, ever screwed up a kit this bad in my whole United States life.
I was very bummed. I set it all aside and locked up the garage. I didn't have the desire to return to it for almost two weeks. After that time, I went down to survey the damage and got depressed all over again. Didn't go back down for another two weeks. I was seriously pissed off at myself for such a disaster. I am going to have to get ahold of another kit for $36. Lovely.
This one may end up in the lower section of the diorama as a bird that just returned from combat with some battle damage. We shall see.
Subscribe to:
Posts (Atom)