I've been working on this since finishing the
Excelsior. I just haven't been keeping a running Blog on the build, so here is the catch up!
First off, although it is a model kit, it is also a toy! For some darned reason they put landing gear on it! And a speaker hole for the built in sound effects.
So, those had to go! I glued them shut, puttied them up and sanded them down smooth.
Then I got some bit of styrene to add some details, taking artistic license, of course. If you look close, you can see where they were, but Its good enough for me.

Next up I spent a few days drilling out around 700 0.5mm holes! I broke many teeny drill bits (#76) in the process because I didn't have the correct pin vise. I found the right one after completing the right side of the triangle and the hangar bays, but not before breaking 10 of them! I was, to say the least....Irate.
Then I needed a way to mount the brass pole to hold the model up, so I epoxied a piece of wood and a shim (to level it) into the belly. Nice and strong!!
While waiting for more drill bits to get here, I started to think about the display base. I got an idea that this would be one of my favorite scenes from The Empire Strikes Back, where Han Solo evades the pursuing Star Destroyer by parking his ship on the back of the conning tower. So I asked my friend Jim Frost if he could 3D print me a teeny-weeny Millennium Falcon, not much bigger than 10mm across. And he did! Thanks Jim!

A little sanding, a very small brush and some paint and I have a Falcon that can literally stop on a dime.
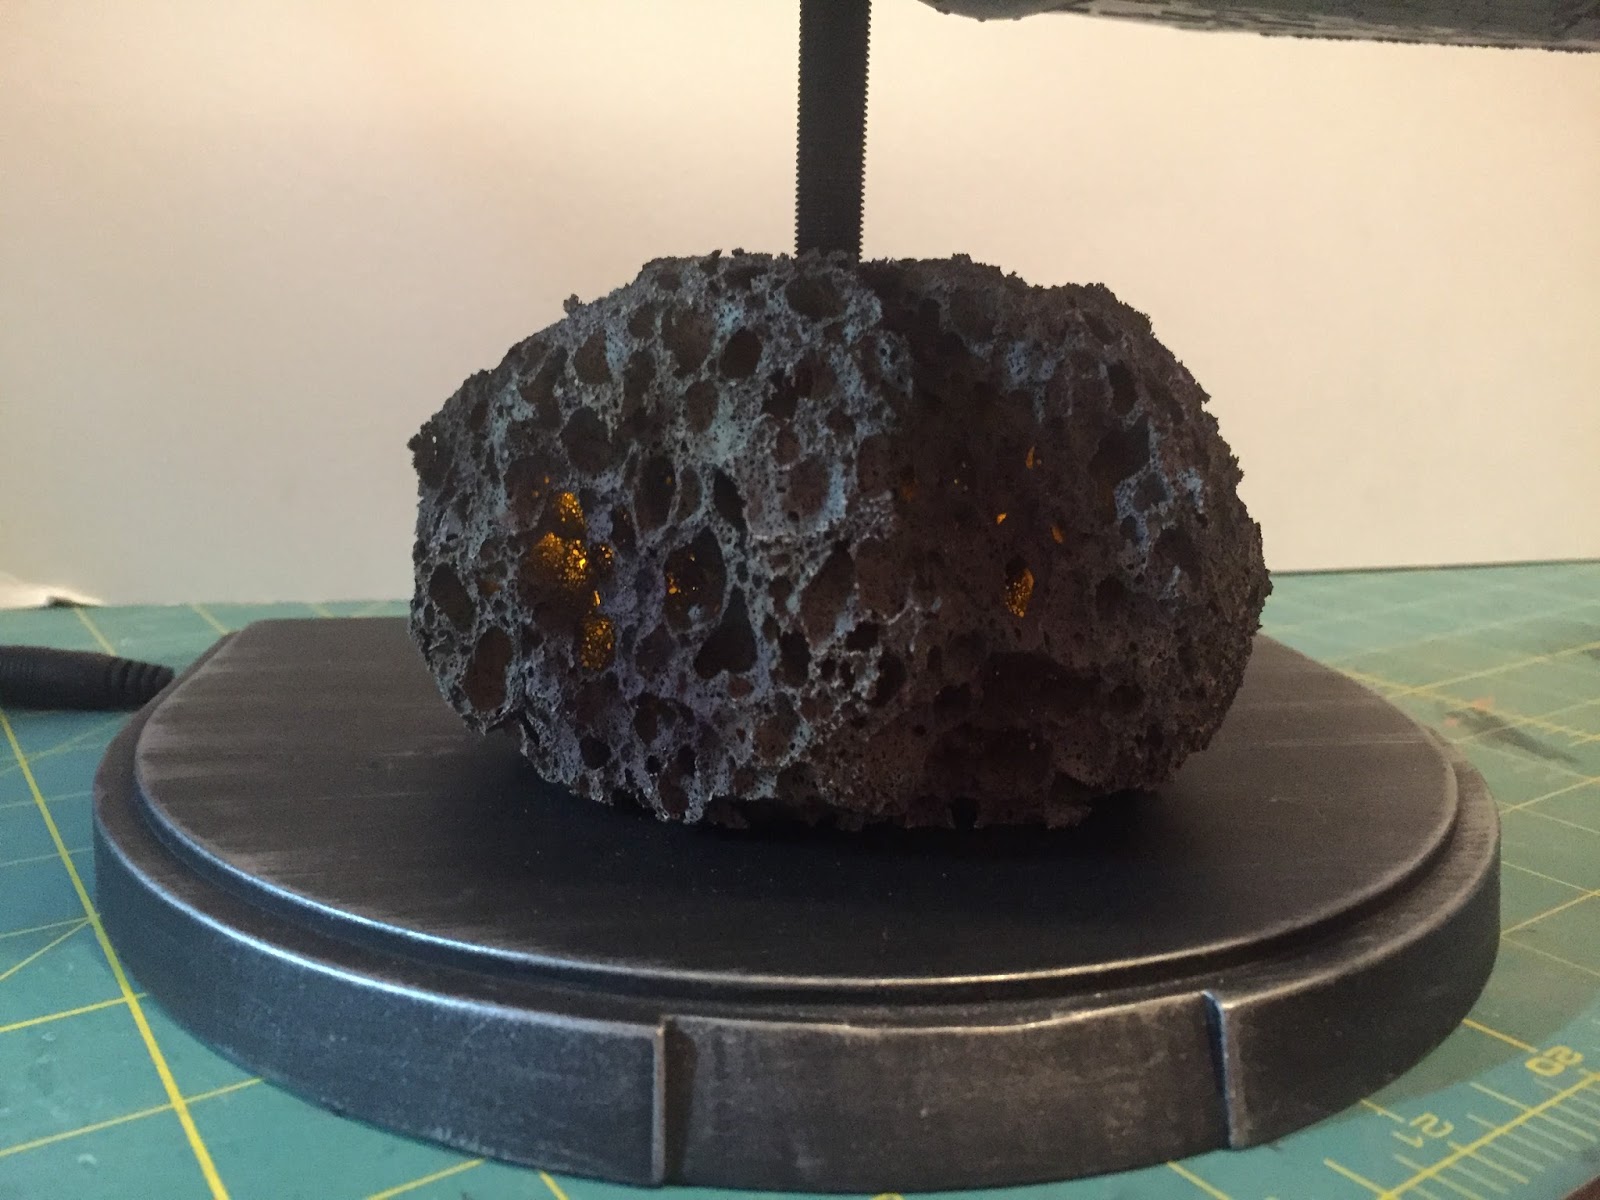
Since this will be taking place just after they exited the asteroid belt, I decided that an asteroid would be a fine addition to the base, under the ship. I drove all over the damned place looking for an actual rock big enough to do the job. Home Depot, Armstrong Garden Center, Michael's, Hobby Lobby. Nobody had any damned lava rocks. Then I saw this sponge at Hobby Lobby. That could be a rock!
"No way", says the wife.
"It will always look like painted sponge", she says.
But my mind's eye can see it as an asteroid.
Lots of Primer, let it dry. Airbrish some browns, tans, greens....mix up a burgundy red here and there and VOILA,
an asteroid! In the movie you could see flashes of light coming from within the asteroids as the ships flew by, so I will be inserting yellow candle-flicker LEDs into the sponge for that effect.
The rest of the time was wiring up LEDS and running fiber optics to all those little holes. So many fibers! I used a partial 50ft. spool that I had and a whole new 50ft spool just for the right side of the ship and the hangar bays! So I ordered another 100ft spool and almost every inch of that went into the tower superstructure! I ran out before I even got that completey done. So I have another 200ft. on the way. I hope it is enough to finish this damned thing. I'd like to get all the fibers in and get it buttoned up so that I can start painting. Stay Tuned!
 Well, its no longer a "Rougue One" Star Destroyer; It's now an "Empire Strikes Back" Star Destroyer!