
Alright, now for the fun stuff! I will detail the build and painting as I go. I started this kit on December 6th 2016, so I have been taking my sweet ass time with it. I started out by using the handy window decals that came with the kit as templates for where to drill my holes.

Even using the decals as a template I kind of screwed a lot of these up. The long oval windows were extra especially irate making. I apparently can't drill two holes centered horizontally to save my damned life. The windows on the saucer section came out extra chunky. The plastic used on this kit is a bit...um... crumbly? I don't know if that's a good word for it, but the edges of the holes didn't come out clean like on other kits that I have done this on. I am hoping that paint will help smooth them out as well as the final touch of Micro Crystal Clear to fill them when all is said and done.


I wasn't really sure how the hell I was going to light the inside of the lower cargo bay. So I masked off the spaces between the "ribs" on both sides to act as skylights for the space. I put blue LED tape sections on either side, but was getting blue light shining through the windows. As a result I needed to cover the blue lights so that they only illuminated the cargo bay and not the inside of the model where only white light should be seen. I used some half-pipe scrap pieces from an old Saturn rocket from the spare parts box to accomplish this.
The usual light blocking was done next. I used Krylon Cover Max dark gray primer, then flat black to stop any light from showing through the plastic. After that I use flat white to bounce the white lights around the inside of the model. This would prove to be an unusual problem later as you will see.
A great tip from Simon Mercs at the Kit Factory was to build spacers to go in between the "chillers" on the warp engines. Without the spacers it is very easy to accidentally squeeze these parts together and break the little bit of gluing on the ends that holds them together. It also serves to ensure that they are straight when you glue them onto the lower half of the engine housings.

Next up I started the electronics installation. This is sure to make somebody cringe. I'm not really neat with the wiring and I tend to use a lot of electrical tape (that I then white glue down) to hold everything in place. I haven't had any issues with any models that I have built this way.......yet. I ran all of the fiber optics out with extra length that will be trimmed down after all the painting is finished. I have already broken two of them off, which I hope will still work out in the end. I will point those out in the next post.

I managed to break some things while gluing the pylons on. I'm still not sure how. I think that the ancient CA glue that I was using actually ate the styrene. I threw that shit out. Red Bondo Glazing putty saved the day as usual!

Here is the part where the inside light blocking came back to bite me in the ass. Even though I sanded down the areas where I was directly applying glue, the paint got all crazed and curdled. Once again, red putty to the rescue! I was able to fix it up pretty well.
The same thing is happening on the saucer and part of the edge has come apart three times now while I handle it during painting. Im going to try to use white Squadron putty instead of the red Bondo stuff to fix that part. I think the Bondo might be eating away the glue. I'll cover that fiasco later on.

This kit has a few pieces that are Ribbed, but not for my pleasure. They decided to put big ass seams that don't line up right in the dead center of the ribbed pattern. A little sand paper and some Micro File work cleaned it up a bit. It's good enough for the girls I go out with anyway.
As I mentioned in the previous post, this isn't going to be a studio prop reproduction. It will not be the colors on the actual studio model, but as it was seen on screen. That being said (and re-said) This is my pallet of colors.
Im laying down the dark "Blues", masking them off and then doing the medium tones. I will then apply the Aztek patterns where needed.

I bought Lou Dalmaso's Aztek Dummy Masking set for this kit. I had some issues with the Tamiya paint not sticking the the Tamiya primer, which I have never had happen before. I'm chalking it up to bad weather and old paint. As a result, I scraped up the paint pretty bad while trying to remove the masks on the indented ring on the bottom of the saucer. To hide that goof, I over-sprayed the whole thing with the darker base color. This hid the scratches but also made the pattern pretty darned subtle. Being on the bottom of the ship, I think that's going to be okay. Plus once the masks are off, you're pretty much stuck with it as it is.

Using the masking set I finished up all the "Blue" areas on the hull. These areas will be masked off while I paint the overall body color and aztek patterns on the "white" areas of the ship. I used various shades of dark blue and blue-gray for the majority. Dark and neutral grays for the "strong back" area.
 I got the painted styrene piece mounted to the base. Then I got to getting the decals applied. I designed the decals in Illustrator and Jack printed them for me on some decal paper. I also used some extra decals that had left over from various kits.


 Alright, now for the fun stuff! I will detail the build and painting as I go. I started this kit on December 6th 2016, so I have been taking my sweet ass time with it. I started out by using the handy window decals that came with the kit as templates for where to drill my holes.
  Even using the decals as a template I kind of screwed a lot of these up. The long oval windows were extra especially irate making. I apparently can't drill two holes centered horizontally to save my damned life. The windows on the saucer section came out extra chunky. The plastic used on this kit is a bit...um... crumbly? I don't know if that's a good word for it, but the edges of the holes didn't come out clean like on other kits that I have done this on. I am hoping that paint will help smooth them out as well as the final touch of Micro Crystal Clear to fill them when all is said and done.


 Next up I started the electronics installation. This is sure to make somebody cringe. I'm not really neat with the wiring and I tend to use a lot of electrical tape (that I then white glue down) to hold everything in place. I haven't had any issues with any models that I have built this way.......yet. I ran all of the fiber optics out with extra length that will be trimmed down after all the painting is finished. I have already broken two of them off, which I hope will still work out in the end. I will point those out in the next post.


 Here is the part where the inside light blocking came back to bite me in the ass. Even though I sanded down the areas where I was directly applying glue, the paint got all crazed and curdled. Once again, red putty to the rescue! I was able to fix it up pretty well.
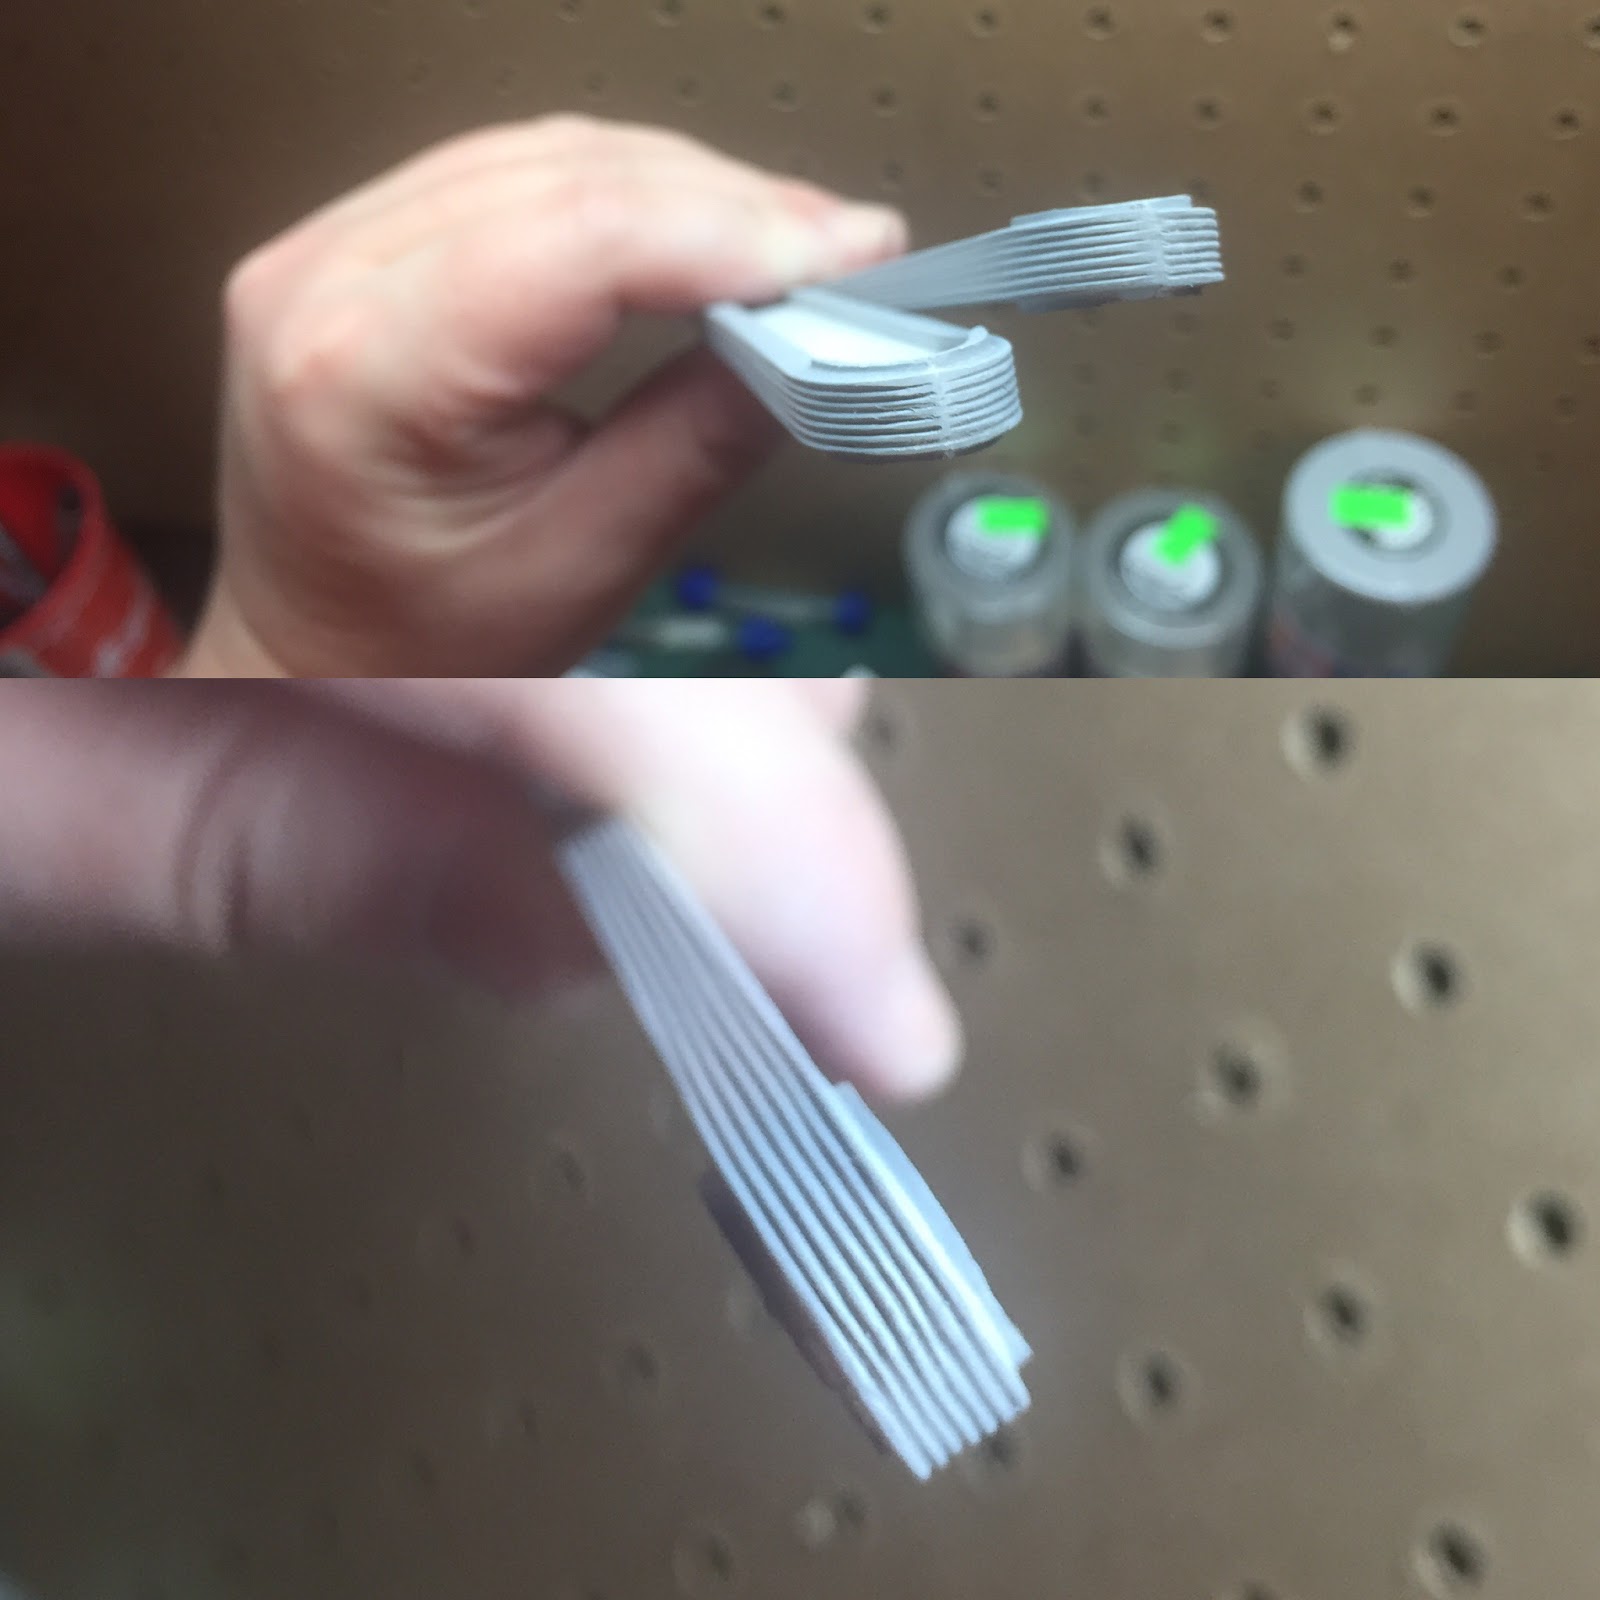 This kit has a few pieces that are Ribbed, but not for my pleasure. They decided to put big ass seams that don't line up right in the dead center of the ribbed pattern. A little sand paper and some Micro File work cleaned it up a bit. It's good enough for the girls I go out with anyway.


 I bought Lou Dalmaso's Aztek Dummy Masking set for this kit. I had some issues with the Tamiya paint not sticking the the Tamiya primer, which I have never had happen before. I'm chalking it up to bad weather and old paint. As a result, I scraped up the paint pretty bad while trying to remove the masks on the indented ring on the bottom of the saucer. To hide that goof, I over-sprayed the whole thing with the darker base color. This hid the scratches but also made the pattern pretty darned subtle. Being on the bottom of the ship, I think that's going to be okay. Plus once the masks are off, you're pretty much stuck with it as it is.
 Using the masking set I finished up all the "Blue" areas on the hull. These areas will be masked off while I paint the overall body color and aztek patterns on the "white" areas of the ship. I used various shades of dark blue and blue-gray for the majority. Dark and neutral grays for the "strong back" area.


