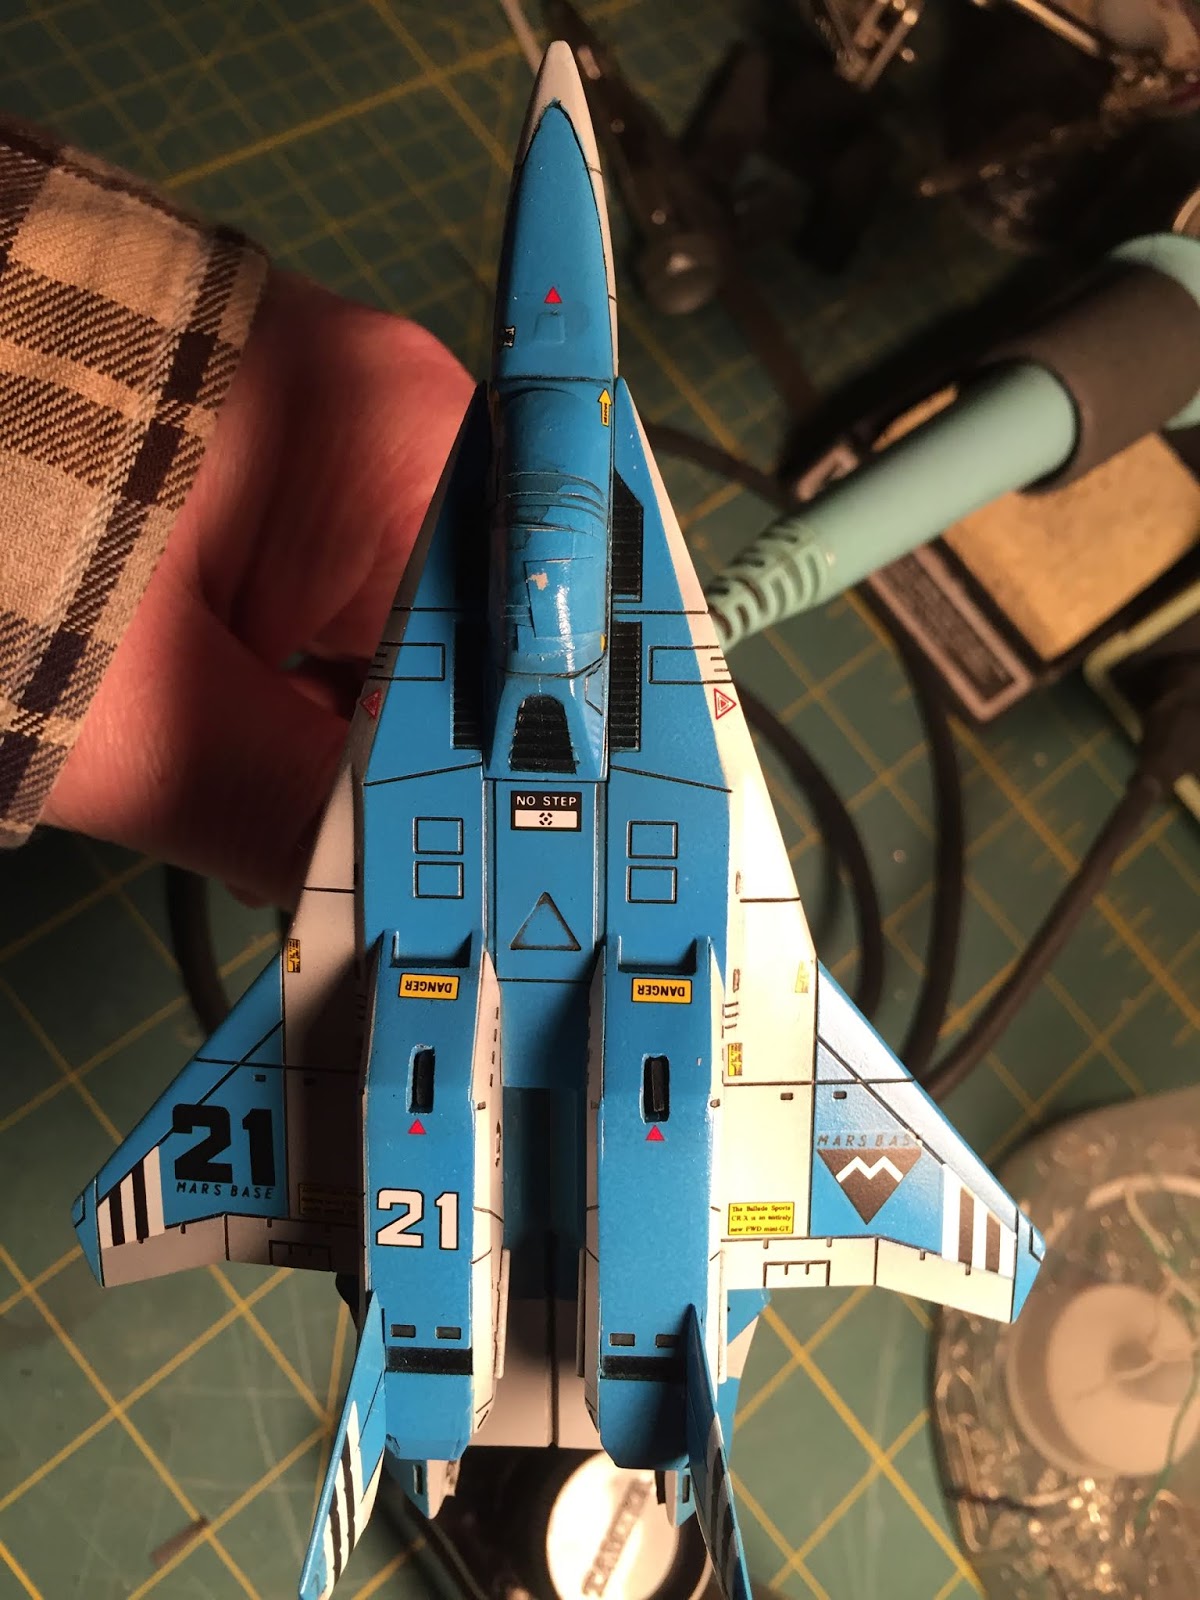
I'm finally back at the bench after a 6 month hiatus. Next up is Aoshima's 1/72 scale Armo-Fighter and Armo-Soldier from Genesis Climber Mospeada (Robotech the new Generation for US audiences). This is one of the kits that I picked up in Korea for around $27. It has the vehicle in all three modes, but I think the Diver mode looks dumb so I'm not building it.

I actually started building this 6 months ago. I ran some fiber optics into the cockpit, masked and premiered it and there it sat. I didn't take any pics of that stage for some reason.

Getting back to it the first thing to do was the pre-shading. I need to get a better airbrush for this part. I'm currently using a 0.3mm tip and it isn't producing fine enough lines. I decided to live with it and see what results I could get.
I painted the white first. tried to put it on so that you could still see the pre-shading. This part came out pretty good.
I then masked off all the white in preparation for painting the blue parts.
I opted for Tamiya X-14 Sky Blue. It's the same blue that I used on the Macross SDF-1 tv version.
Tape off and hey that doesn't look too bad! I went a tad too heavy and covered most of the presiding in the blue areas. but you can see it here and there.
One of the areas that I wanted to stylize was the yellow lights. The kit came with solid plastic in those areas so I hogged them out and filed them nice and neat. I used the flat part of a clear sprue (where it shows the part number) to build some structure into the lights. Glued those in from behind backed by a yellow pico LED, painted the front black and sanded the paint off of the flat top. Results were pretty good! I had planned to do this same technique on the "legs" of the jet as well as on the robot version, but there wasn't any space to do so, so I had to come up with a different approach to those areas. I'll show youth later.


I installed the blue lights for the thrusters and yellow side lights on the "legs" but I didn't take any pics. I'll show those in the finale. After all that I put down a gloss coat of Tamiya TS-13 and used Tamiya Panel Line Accent Black to accentuate all the panel lines. I Cleaned up any start spots for spills with lighter fluid. It's strong enough to clean up the enamel wash, but not too strong so that it ruins the gloss coat.

Decals were next. I did the absolute worst thing possible and spilled a bottle of microset on my decal sheet! So I quickly applied all the decals that got wet before the microset started to soften them up so much that they would tear or disintegrate. But I got them all on!
I needed an idea for the base. I found a plastic dish from a frozen entree of some kind. I thought it would do. The plan is to mount the fighter on the post and have the robot standing behind on the tarmac. The Tarmac is a piece of styrene cut with a circle cutter and painted using some left over Aztec Dummy paint masks that I have from the Excelsior build.
I think it looks alright.

Now it's time to start on the robot mode. I put yellow pico LEDs in the shoulders and head. There wasn't any room to build it up like I did on the fighter. I used a piece of rubbery foam ( I don't know what its really called) to hold the pico LED in place. Once in I used Silly Putty to mask off the hole for painting. I'm not sure if I will come up with some sort of cover for the LEDs or just leave them as they are. We'll see.
 Alrighty. I came up with a solution for the "too bright" light problem. I painted some styrene Yellow, cut it to shape, masked off the middle and painted it flat black. Then inserted into the spaces where the LEDs are. Problem solved.